Tuesday, March 9, 2021

March Class to Go


March 2021 Class to Go

Featuring the Friends are Like Seashells Stamp Set(154368)

This Class to Go kit is free with a 40$or more order in my online store when you use this month’s  Host Code NJ6YQ3Y4

Don’t use this code if your order is over 150$ so you get the Stampin Rewards.

For more information about this class kit  and registration email me at ezpzsc@gmail.com


Class created by Tami Twitchell 

My Stampin up Store  link: https://www.stampinup.com/?fbclid=IwAR0tvjEM5yYGgOHb84n_Epy_uOoFxB6yLwNWTiqOQp7NKgK4CDZgRhN0SKA


Class Options

  1.   20$ (plus 3.50$ for shipping if out of the Gilbert/Mesa area)

Items included:


  1. Precut projects with all paper, embellishments, ribbons and die cuts so you can create 6 cards, 2 each of the same designs and a 3d project.

  2. 6 Envelopes      

  3. Emailed PDF Tutorial with photos and instructions to complete class.


  1. If you are local to the Gilbert/Mesa area, you may attend my Stamp And Go event where I will provide the Stamps and Inks necessary to  complete this class. The dates are March 25 from 7pm-8:30pm open house style and March 26 from 10am to 2pm. Just email me to register for the class and your time slot.  ezpzsc@gmail.com


B.  This class is free for those who use this month’s host code NJ6YQ3Y4 for every order 40$ or more placed in my Stampin Up Store.  If your order will be over 150$ then don't use the host code and I will still send you the class kit.

  1. Precut projects with all paper, embellishments, ribbons and die cuts so you can create 6 cards, 2 each of the same designs and a 3d project.

  2. Emailed PDF Tutorial with photos and instructions to complete class and free shipping in the continental U.S.


C. Tutorial PDF (digital) emailed to you 10$


You may purchase the Friends are Like Seashells stamp set (154368),  The bundle with Stamp set and Dies (156205), the Seashells 3D embossing folder(154309) and any other Stampin Up supplies in my Stampin Up Store.

https://www.stampinup.com/?fbclid=IwAR0tvjEM5yYGgOHb84n_Epy_uOoFxB6yLwNWTiqOQp7NKgK4CDZgRhN0SKA


Don’t forget to use  the host code NJ6YQ3Y4


Monday, January 18, 2021

Jan.-Feb. Class to Go!

 I am so excited to introduce my January-February Class to Go! It features the new Art Gallery stamp set from the new mini catalog. Feel free to email or message me for registration and more information!


Friday, October 2, 2020

Apple Welcome back card

 Apple Welcome Back card with Tutorial 

  1. Cut whisper white card stock at 5 1/2“ x 8 1/2“(Score at 4 1/4”), 1“ x 5 1/2“, and 2 1/4“ x 5 1/2“

  2. Cut your choice of perfect plaid paper at 1 1/4” x 5 1/2”.

  3. Emboss the whisper white card stock 1“ x 5 1/2“, and 2 1/4“ x 5 1/2“, with the tasteful textile folder.

  4. Adhere perfectly plaid paper strip  at 7/8 of an inch from the score line on the left side of the car. Use foam strips dimensionals and apply to the textured card stock. Adhere the 1” paper strip to the left of the perfectly paid and the 2 1/4 strip to the right of the perfectly plaid strip.

  5. Using Momento ink, Stamp the harvest hello Apple onto cherry cobbler paper, stamp the leaf apple stem and half apple on whisper white card stock. Use Stampin blends in dark cherry cobbler, shaded spruce, dark basic black and dark soft suede to color apple half, leaf and stem.

  6. Adhere leaf and stem to apple with glue dots. Adhere apple half to right side of apple.

  7. Add a strip of Stampin Seal to back of apple. Wrap gold cord around fingers 3x. Place on Stampin Seal strip and arrange.

  8. Add foam dimensionals to apple back and apply to lower right of card.

  9. Stamp Welcome back sentiment onto whisper white cardstock and punch out with classic label punch.

  10. Adhere to left of apple with foam dimensionals.

  11. Add 3 shaded spruce rhinestones.


Monday, September 14, 2020

September Class to Go


I am so excited to share with you my September Class to Go!  To register you can email me at ezpzsc@gmail.com or message  The stamp set I'm featuring is Celebration Tidings 153456 for $17. I’ve changed my class up a little bit, because I love creating treat holders and 3 D items for the Holidays! So this month there are 3 cards with the same design but for different Holidays with Coordinating 3 D items.


Here’s the Halloween themed projects.

Here’s the Thanksgiving projects. I thought the Thanksgiving treat holder could also be used as a table seating gift with the individual’s name instead of the sentiment.


And last but not least the Christmas Holiday projects.


I hope you enjoy checking out my projects as much as I loved creating them. Also, if ordering from my Stampin’Up Store, be sure to use the Host Code below.


Monday, August 3, 2020

August Class to Go!

I am so happy to share with you my August Class to Go!  To register you can email me at ezpzsc@gmail.com or message me on Facebook.
The converse cards were inspired by my upline, Lorri Heiling. I just love how versatile they are! The stamp set I'm featuring is A Grand Kid 152500 $21. Even though I'm not a grandma yet, their are lots of greetings you can still use and as a mom, I can just put a post it note over the grand in the sayings or color them with Stamp in Write markers--the ones with the round lid!


The next two cards are a Joy Fun Fold card. Aren't they adorable!


Don't forget the last day to register is August 21st!  Have a fabulous Day!

Wednesday, July 22, 2020

Simple Stamping with Forever Fern

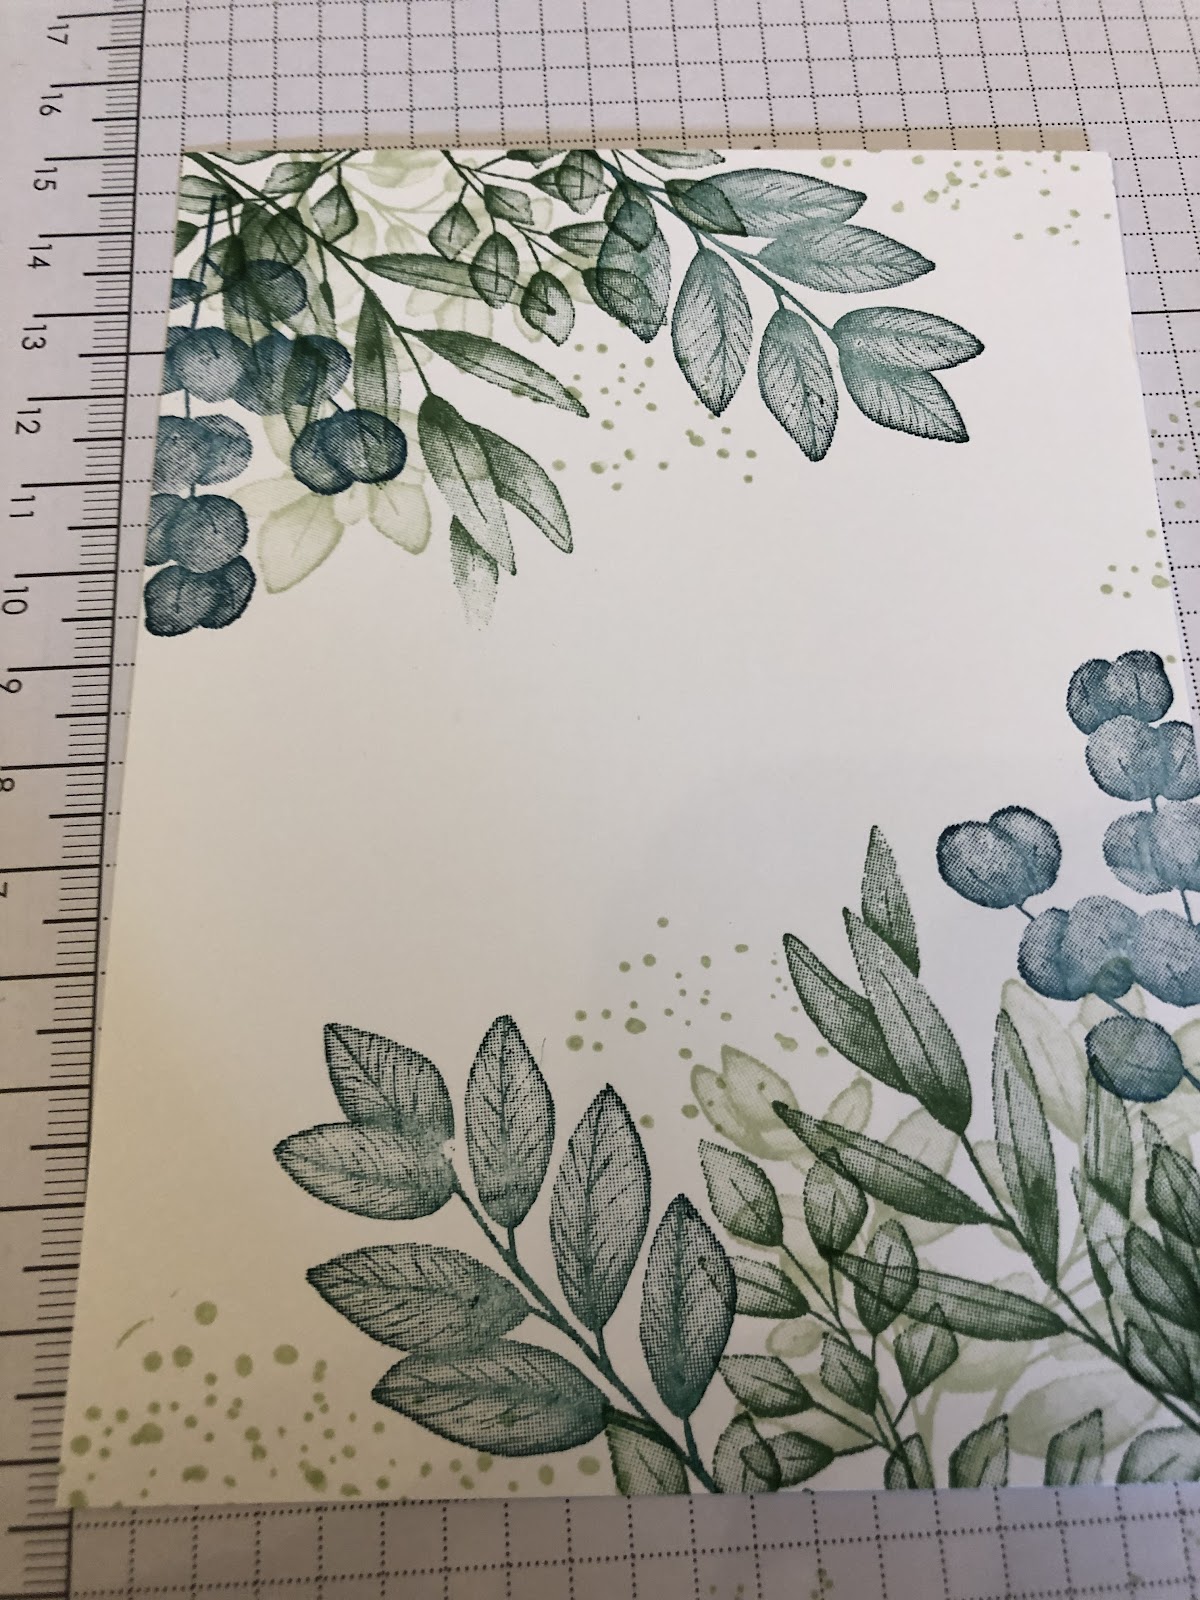
Here’s a fun Simple Stamping card with tutorial! I just used Stamps, ink and paper! I just love our Forever Fern Stamp set! 

Supplies: card stock-whisper white 4 ¼” X 11, 4” X 5 ¼ “; Ink-mossy meadow, pretty peacock, shaded spruce, soft sea foam , momento ; Stamp- Forever Fern; Stampin Seal and dimensionals.

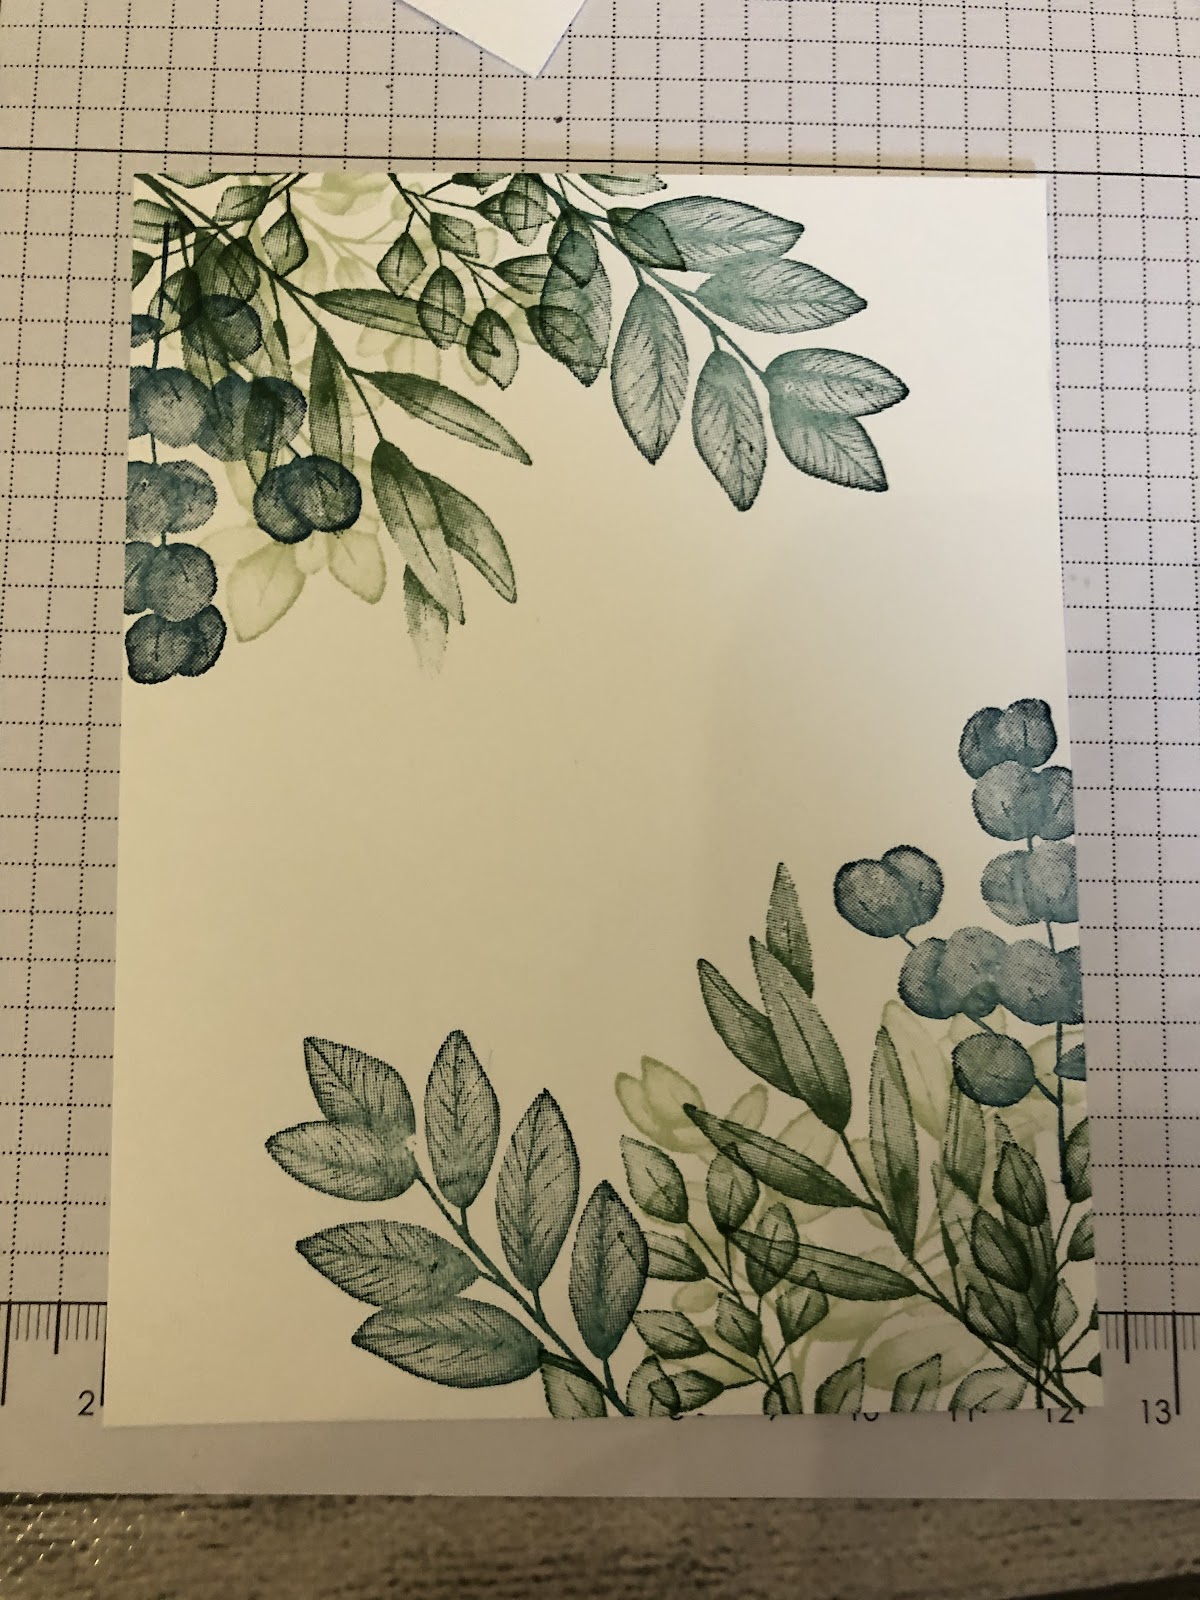
  1. On 4” X 5 ¼ Stamp large long leaf in upper left and lower right corner. Turn paper 180 degrees and repeat .

  2. Use the Eucalyptus stamp with pretty peacock ink, stamp on the right of each leaf.Turn paper 180 degrees and repeat.

  3. Ink up the medium leaf in shaded spruce and stamp to the left of the corner leaf. Turn paper 180 degrees and repeat.

  4. Use the large wide leaf and ink in soft sea foam ink, stamp over the stems of the leaves.Turn paper 180 degrees and repeat.

  5. Use the small leaf that tip leans towards the left and mossy meadow ink and stamp between the shaded spruce and large mossy meadow leaf turn paper 180 degrees and repeat.

  6. Use the small leaf that leans towards the right tip and mossy meadow ink and stamp lower right corner, turn paper 180 degrees and repeat.

  7. Use the spotted stamp and sea foam ink and stamp like in picture below.

  8. Ink sentiment of choice with momento ink and stamp in the middle. Mount to 4 ¼” x 11 card base, I used dimensionals.


Isn't it gorgeous! I just love how simple, beautiful and versatile this stamp set is.!

July 2020 Class to Go

I had fun designing this months Class to Go!  I’m just loving the Celebrate Sunflowers Bundle and In Good Taste DSP!